

Many buyers ask us the same question: what actually happens between sending a drawing and receiving finished forged aluminum parts? This guide walks through the complete aluminum forging process we use in our factory — 8 steps, from drawing review to shipment — so you know exactly what to expect, how long each stage takes, and where quality is controlled.
Step 1: Drawing Review & DFM Analysis
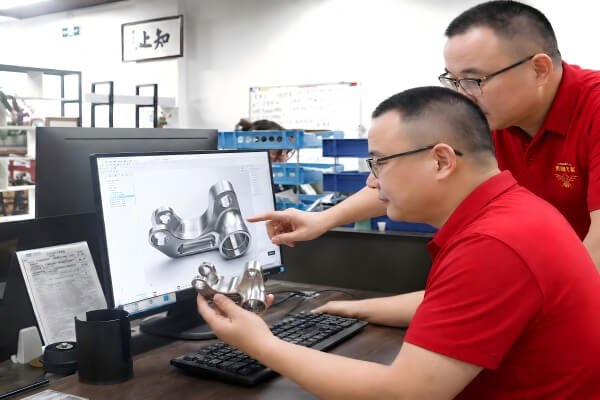
Every project starts with an engineering review of your 2D/3D drawings. We check draft angles, parting line position, corner radii, wall thickness and machining allowances. If a feature cannot be forged directly, we propose a forge + CNC solution. This DFM (Design for Manufacturability) stage typically takes 1–2 days and prevents costly die rework later.
Step 2: Forging Die Design & Development
Based on the approved DFM, we design and machine the forging dies in-house from hot-work tool steel (H13). A typical die set takes 7–15 days depending on complexity. In-house die development means faster iterations and lower tooling cost — one reason forging projects with us start at a lower budget than most buyers expect.
Step 3: Billet Cutting & Preheating
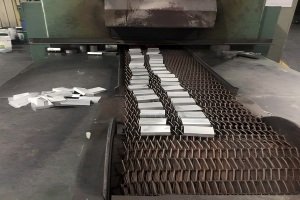
Aluminum bar stock (commonly 6061, 6082 or 7075) is cut to precisely calculated billet weights, then preheated to 420–480°C. Accurate billet sizing is what pushes material utilization to 85%–95% — far higher than machining a part from solid block.
Step 4: Hot Forging on Press
The heated billet is formed in the die under a forging press (300T–2500T range, selected by part projected area). The metal flows and recrystallizes along the part geometry, creating a continuous grain structure — the reason forged parts outperform die castings and machined-from-billet parts in fatigue strength.
Step 5: Trimming & Deburring
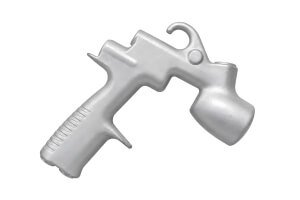
Excess flash around the parting line is removed with a trimming die, followed by deburring and surface cleaning. At this point the part is a near-net-shape forging blank.
Step 6: Heat Treatment (T5 / T6)
Forgings are solution-treated and artificially aged to reach the specified temper. For 6061-T6, typical results are tensile strength ≥ 310 MPa; 7075-T6 can exceed 560 MPa. Furnace charts are recorded for every batch and traceable by lot number.
Step 7: CNC Finish Machining
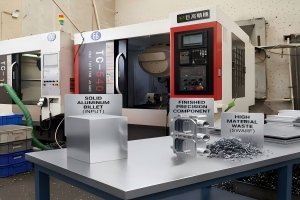
Critical dimensions — bearing bores, threads, mating faces — are finished on 3-axis, 4-axis and 5-axis CNC centers to tolerances as tight as ±0.01 mm. Because only functional surfaces are machined, cycle time and cost drop 30%–50% compared with machining the whole part from billet.
Step 8: Surface Treatment & Final Inspection
Depending on the application we apply anodizing (clear or colored), sandblasting, powder coating or chromate conversion. Every batch passes dimensional inspection (CMM for critical features), hardness testing and visual inspection before packing. Our outgoing batch pass rate is stable at 99.6%–99.7%.
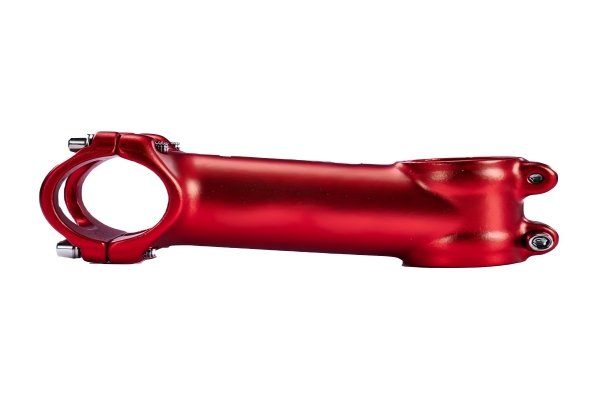

Typical Lead Time Summary
| Stage | Typical Duration |
|---|---|
| Drawing review & DFM | 1–2 days |
| Die design & development | 7–15 days |
| First article samples | 3–5 days after die |
| Mass production (per batch) | 15–25 days |
FAQ
Q: What is the minimum order quantity?
Small trial batches are possible once the die is built; the die is a one-time investment that belongs to you.
Q: Which alloys can be forged?
6061, 6082, 6063, 7075, 2014 and other wrought alloys. Alloy choice depends on strength, corrosion and anodizing requirements — see our material selection guide.
Q: Can you work from a sample instead of a drawing?
Yes. We can reverse-engineer from a physical sample and provide drawings for your confirmation before die development.
Ready to start a forging project? Send us your drawing for a free DFM review and quotation, or learn more about our custom aluminum forging services.